Jupyterlab
We will begin with JupyterLab. If using the Jupyterlab Desktop, start it from the application launcher of your operating system. If using it directly from the terminal or miniforge prompt, type
jupyter-lab
For users of the University of Virginia’s HPC systems, Jupyterlab can be started through its interactive app on the Open OnDemand interactive login. Your request will be submitted to the appropriate partition and you can work on a compute node with a full Jupyterlab graphical interface.
If started from a prompt, Jupyterlab will open in your default browser.
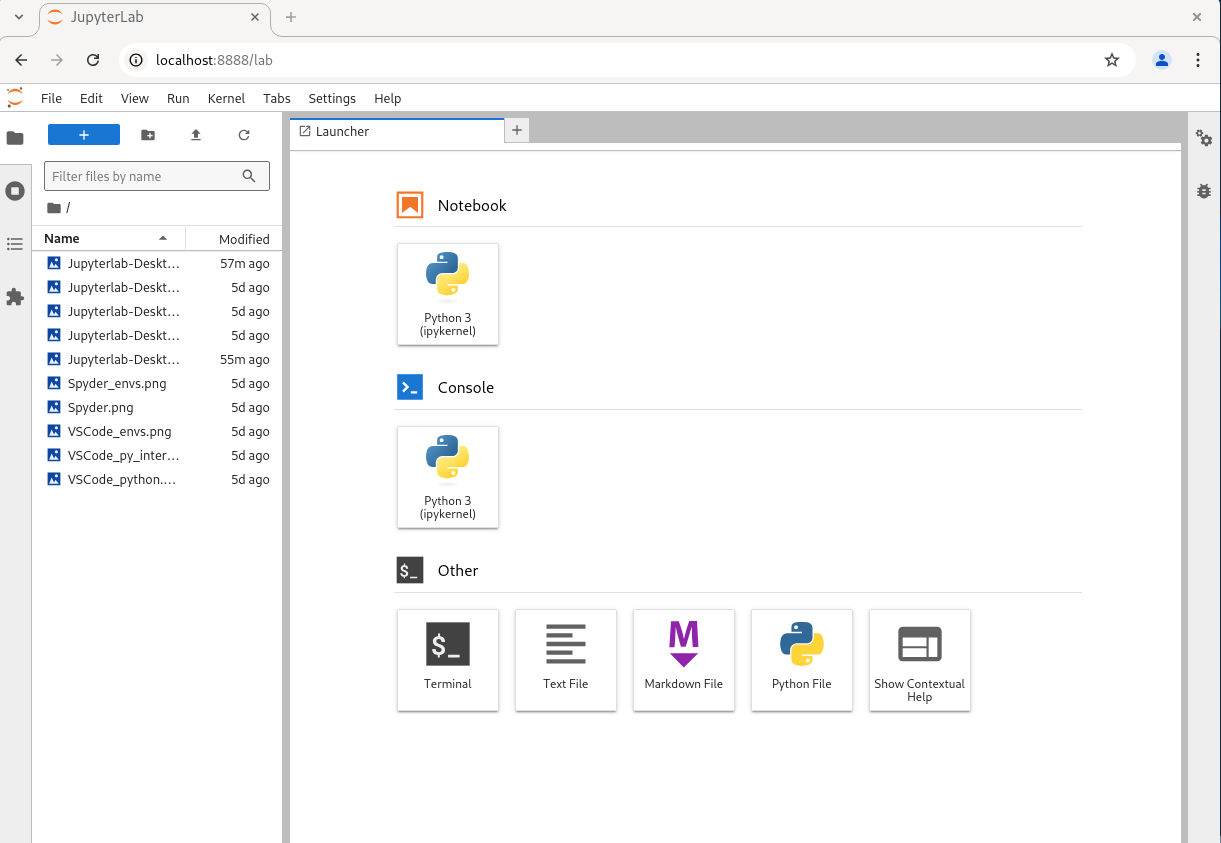
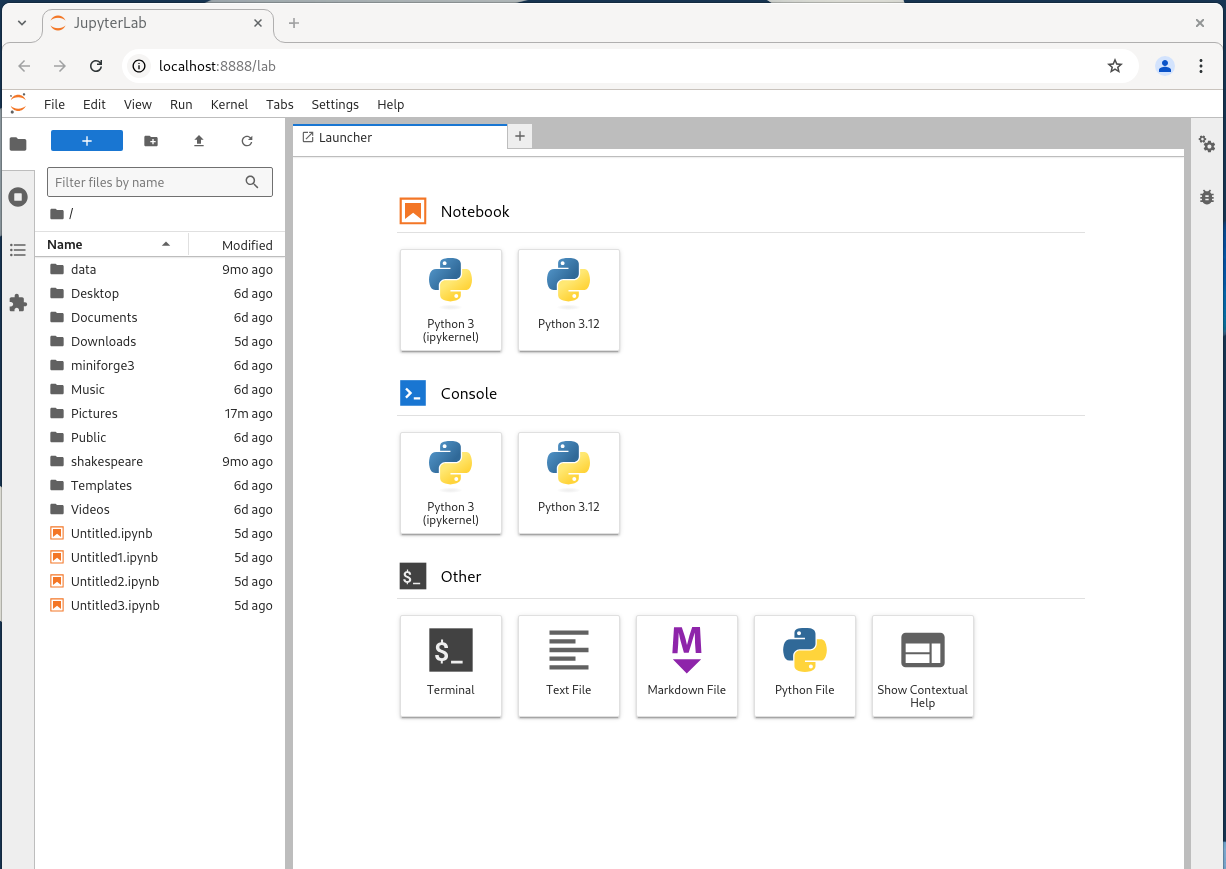
When JupyterLab starts up, it shows tiles corresponding to the available kernels. Jupyterlab runs code under the control of a kernel.
you will see a list of your files on the left and three icons to select the mode. JupyterLab incorporates a Jupyter notebook server as well as a plain Python or iPython console and a simple text editor. We want to start a Jupyter notebook so click on the Python3 kernel tile.
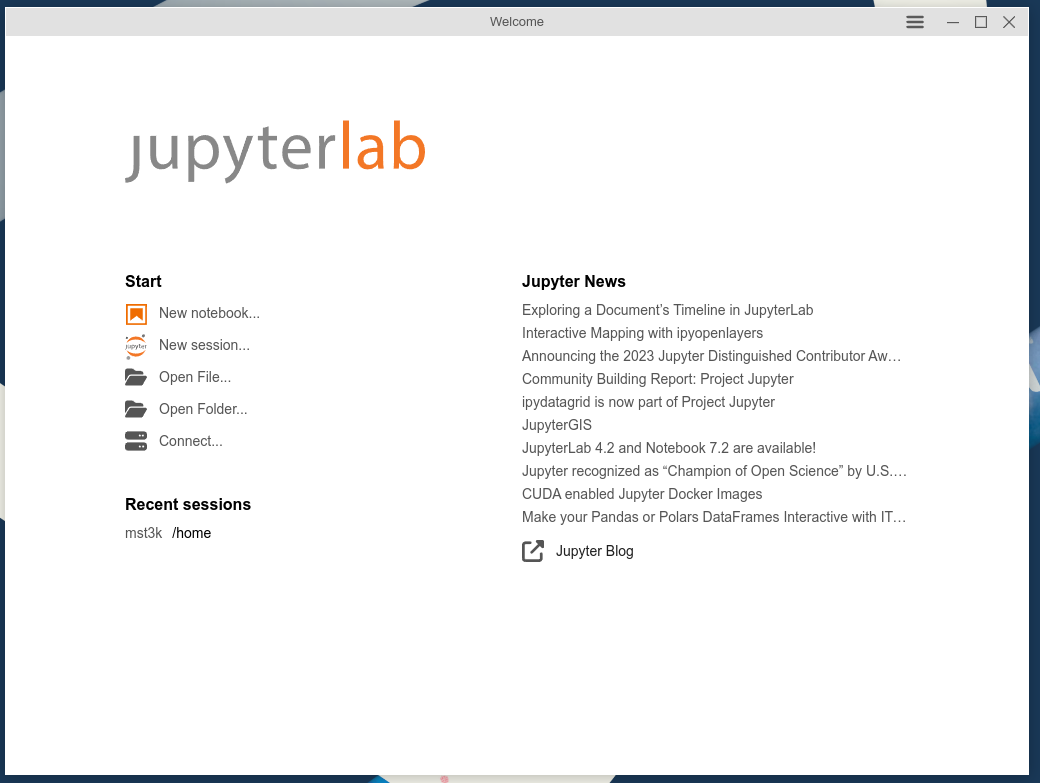
The Jupyterlab Desktop will start with a splash screen without tiles.
A tab will open with a text entry area.

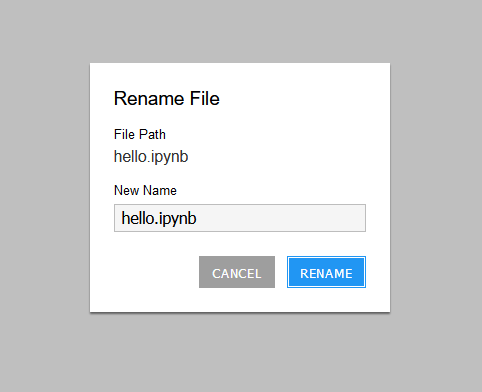
Your notebook is untitled. Open the File menu and click Rename. Name your notebook first_script.ipynb, then click the Rename button.
Cells
The blank line with the blinking cursor is a cell. You can type code into the cell. After the In[] prompt type print("Hello")
To run the cell click the arrowhead in the ribbon at the top of the tab, or type the shift+enter keys together.
Your First Program
If you are using Python 2.7 please begin all your programs with the line
from __future__ import print_function. The symbols surrounding future are double underscores.
Type the following lines into a cell.
Numerals=list(range(1,11))
print(Numerals[3])
print(Numerals[:3])
print(Numerals[3:])
print(Numerals[4:6])
Run this cell. Is the result what you expected?
Now add lines
Numerals.extend(list(range(11,21)))
Numerals[3]=11
del Numerals[4]
print(Numerals)
len(Numerals)
Output
When you are working directly at the interpreter, you can type a variable and it will print the value exactly. This is called expression evaluation. Using the print function observes any formatting.
In a new cell type
greeting="Hello World"
hello=greeting[0:5]
greeting2=hello+" there"
output=greeting2+"\n"*2
The symbol \n stands for “new line.” Run this cell. In another new cell type
output
Run this cell, then in another cell, enter and run the line
print(output)
Plotting in Jupyterlab
Type
import matplotlib.pylab as plt
Run the cell. In a new cell type
x=plt.arange(-1.,1.1,.1)
y=1./plt.sqrt(x**2+1)
Execute the cell. In the next cell type
plt.plot(x,y)
Text Editor
JupyterLab includes a simple text editor you can use to create files. In the upper left of your JupyterLab tab, click + to start the launcher. Choose the text file tile. Type
def hello():
    print("Hello")
    return None
Be sure to indent lines exactly as shown.
From the File menu choose Rename Text. Name the file hello_func.py. By default, files will be saved into the folder in which JupyterLab is working. The default is your “User” directory.
Saving the file with the .py extension should automatically enable syntax coloring. Syntax coloring marks different constructs with different font colors. It is very helpful and all modern technical editors provide it for most programming languages.
After saving the file, return to your Jupyter notebook page and type
import hello_func
Run the cell, then in a new cell type and run
hello_func.hello()
Exporting your Notebook
Exporting to a Script
You can export embedded text in your notebook into a script. First make sure your notebook has a name. If you have not named your current notebook yet, call it first_script.ipynb. From the Notebook menu find Save and Export Notebook As->Executable Script. JupyterLab will default to the Downloads folder; move it to a location of your choice. You can make a new directory for your Python scripts if you wish.
Exporting to Other Formats
If you have installed miniforge on your local computer, other export options are available to you. PDF, HTML, and Markdown are popular formats. These are not all available for Open OnDemand users due to the need for certain translation software, but exporting can be done from the command line. See the
documentation for more information. On your personal system, you will need to install the nbconvert package along with jupyterlab.
Managing Environments
If started from a prompt within an environment, browser-based Jupyterlab should use the active environment by default.
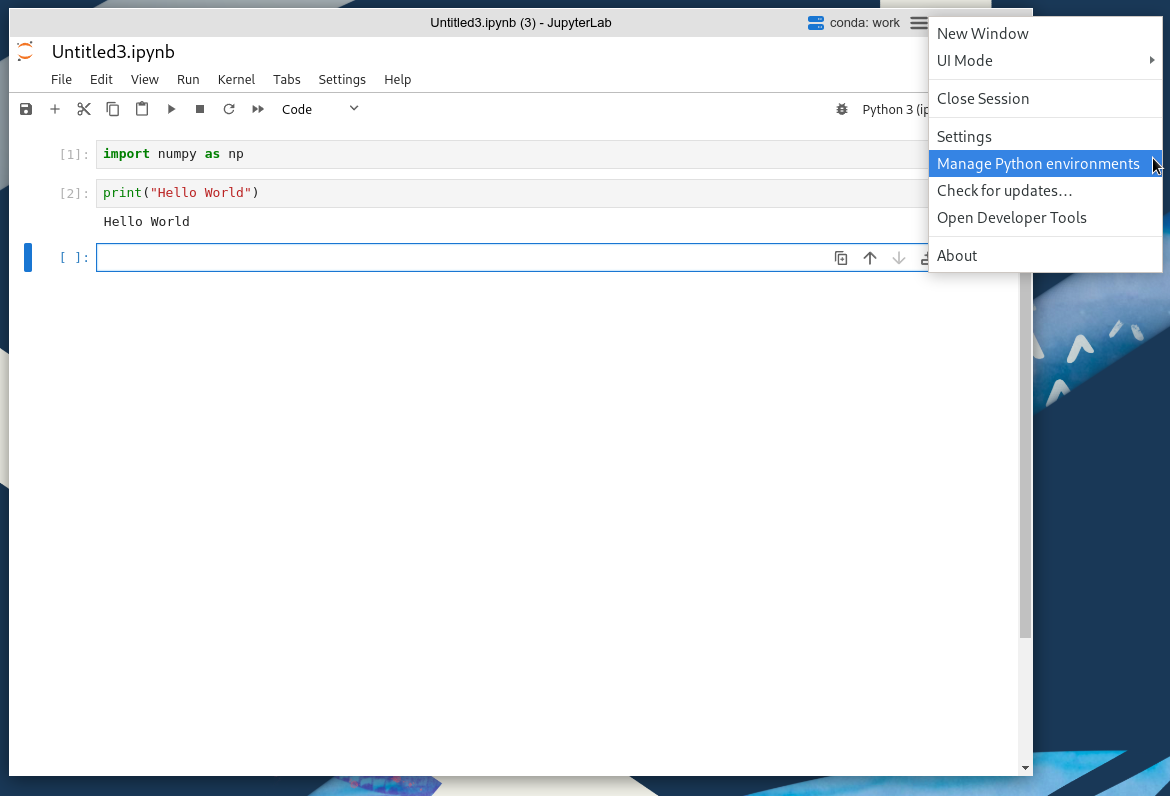
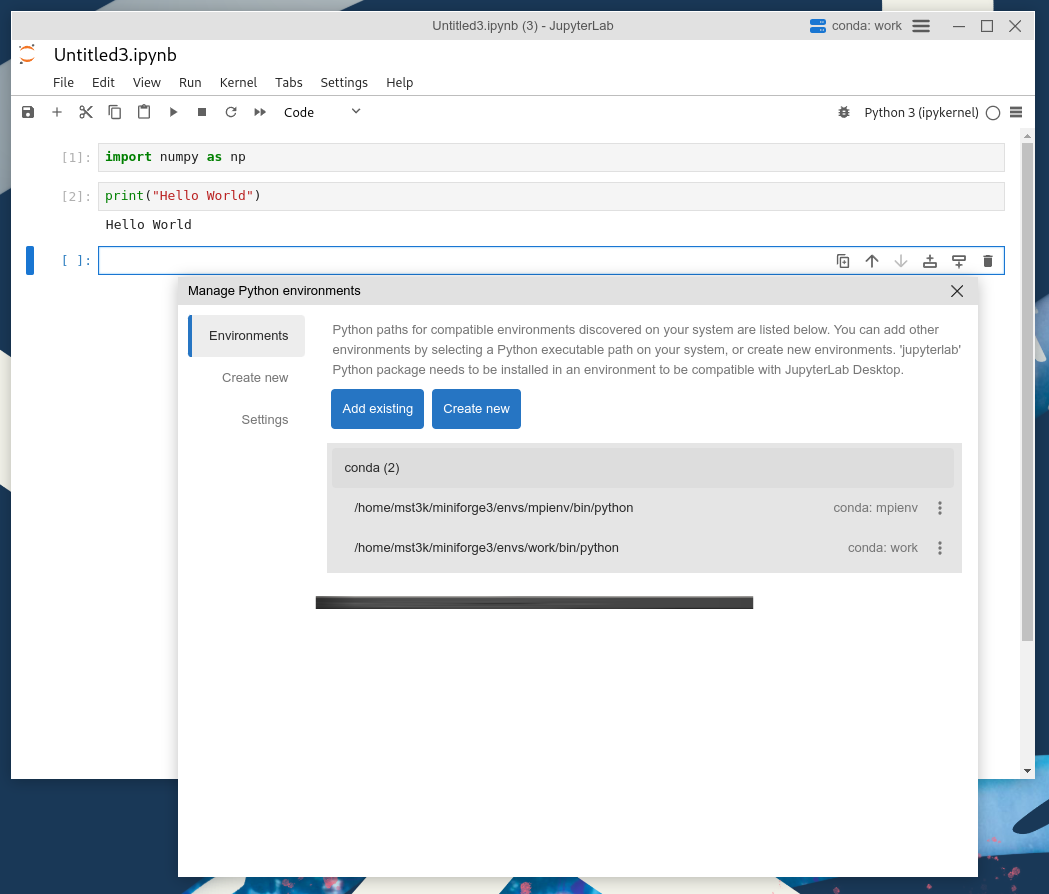
If started from a Jupyterlab Desktop application in a different environment, you can restart the session in a different environment. Find the “switch” icon next to the name of your current environment at the top right. Click on it, and a list will be presented. Select a different location to restart the session.

You can also create a new environment within the Jupyterlab Desktop. From the current environment at the top right of the window, click the “menu” icon.
This will bring up a list of the available environments, with options to add another or to create a new one.
For more information about Jupyterlab Desktop, see their User Guide.
Kernels
Jupyter can use multiple kernels, though each notebook must be associated with a kernel while it is running. To create a kernel, first install the ipykernel package into any environment you wish to set up.
Activate your environment, then type
(myenv)$mamba install ipykernel
#or conda install
Now, at the terminal or Miniforge prompt, run
python -m ipykernel install --name python-3.12 --display-name "Python 3.12" --user
You can choose any name and display names, but generally the name should not contain spaces. The display name can be any valid string and will be the identifier of the kernel shown on the startup page in Web-based Jupyter.
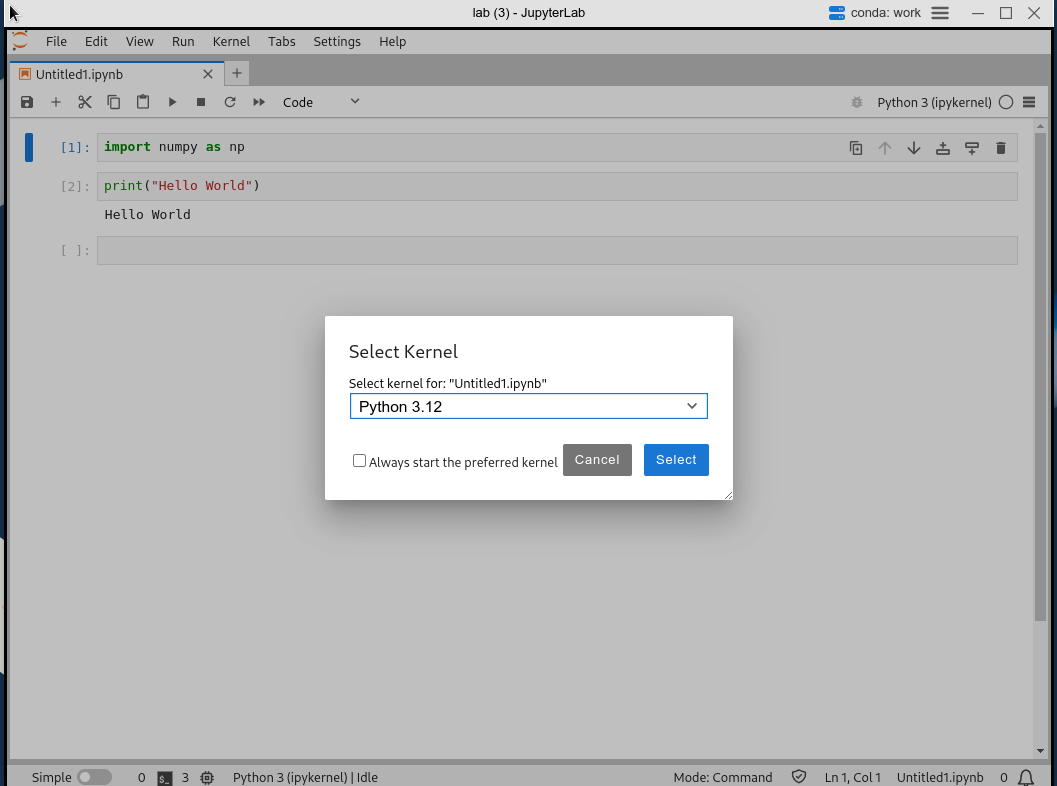
You can change kernels used by a notebook from the Jupyterlab “Switch Kernel” menu, located in the upper right of the tab ribbon. Click the name of the currently active kernel. A dropdown will appear and you can change the kernel. The apperance is similar in Jupyterlab Desktop, the main difference between the two being that the Jupyterlab Desktop has the “Switch Environment” menu above the tab ribbon, whereas directly Web-based Jupyterlab does not.
Resources
Several tutorials are available for Jupyter and JupyterLab online. One good one is here.
The official JupyterLab documentation is here