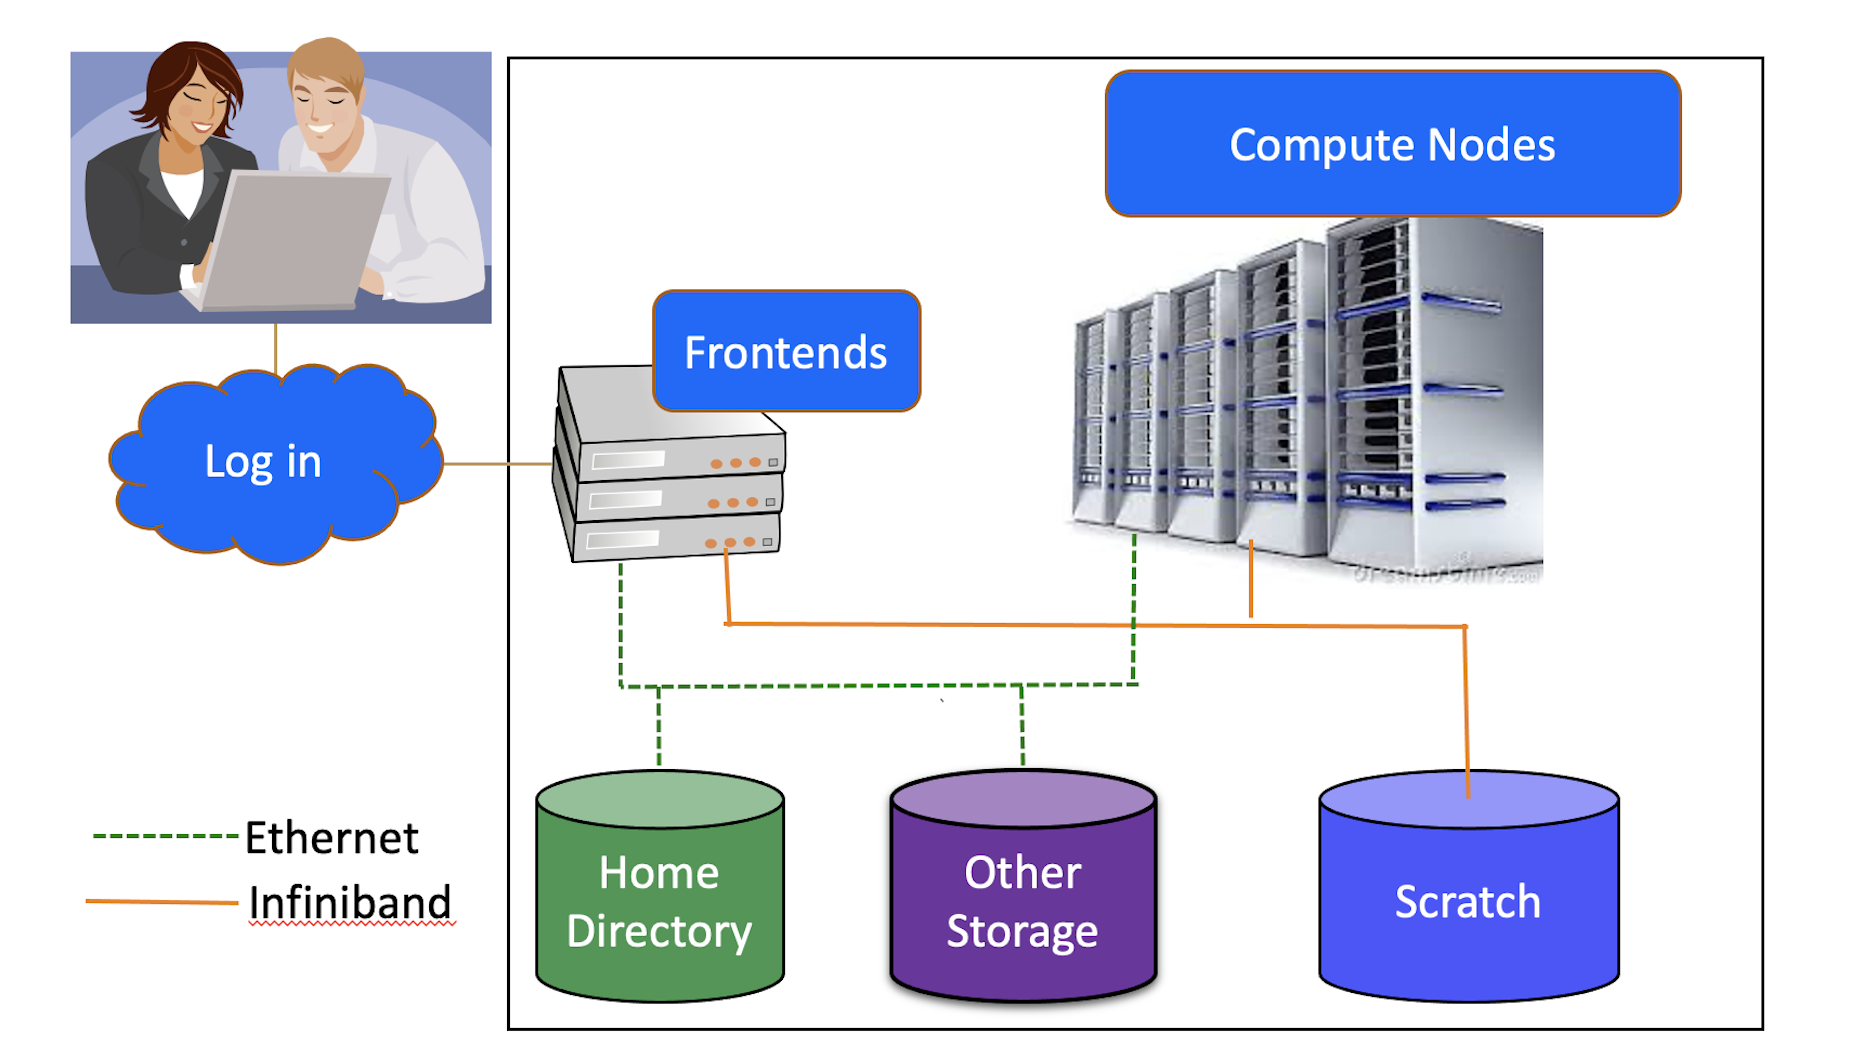
Hardware
Allocations
Connecting to the Cluster
Using the Frontends
Generally, 1 SU = 1 core-hour
When off grounds, use the VPN
To install the VPN, go to https://in.virginia.edu/vpn
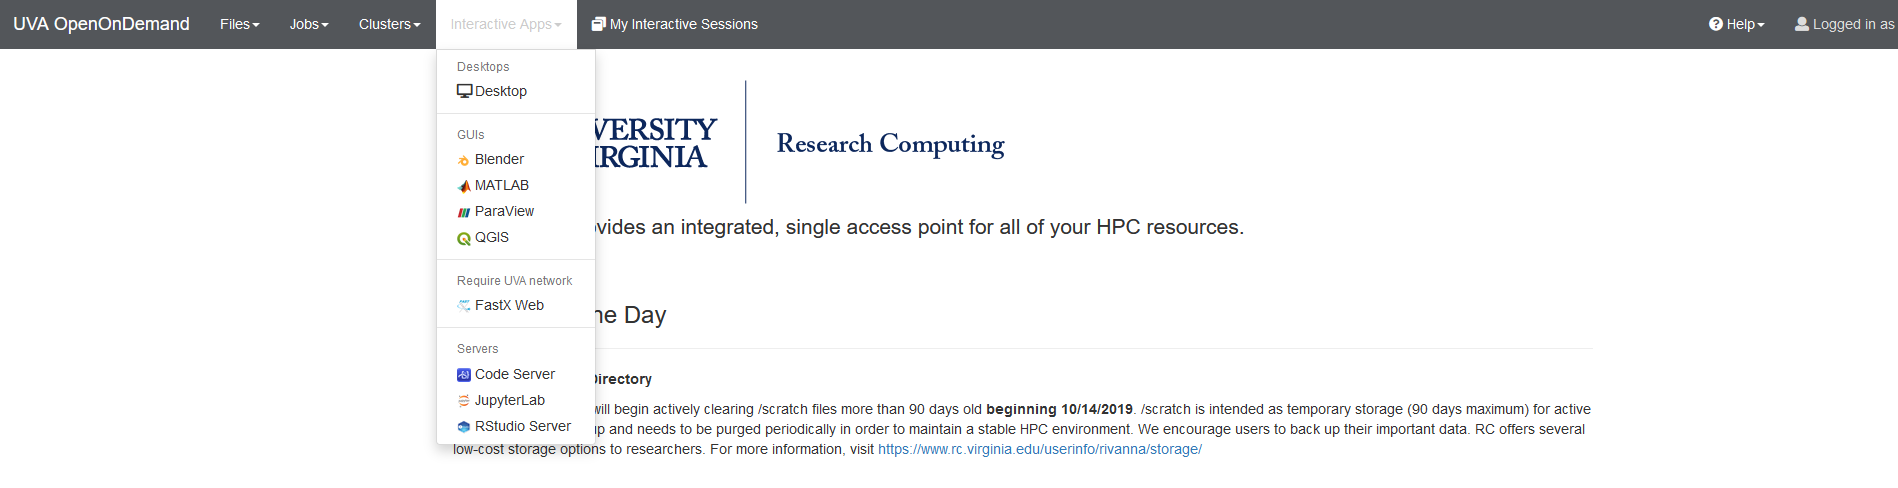
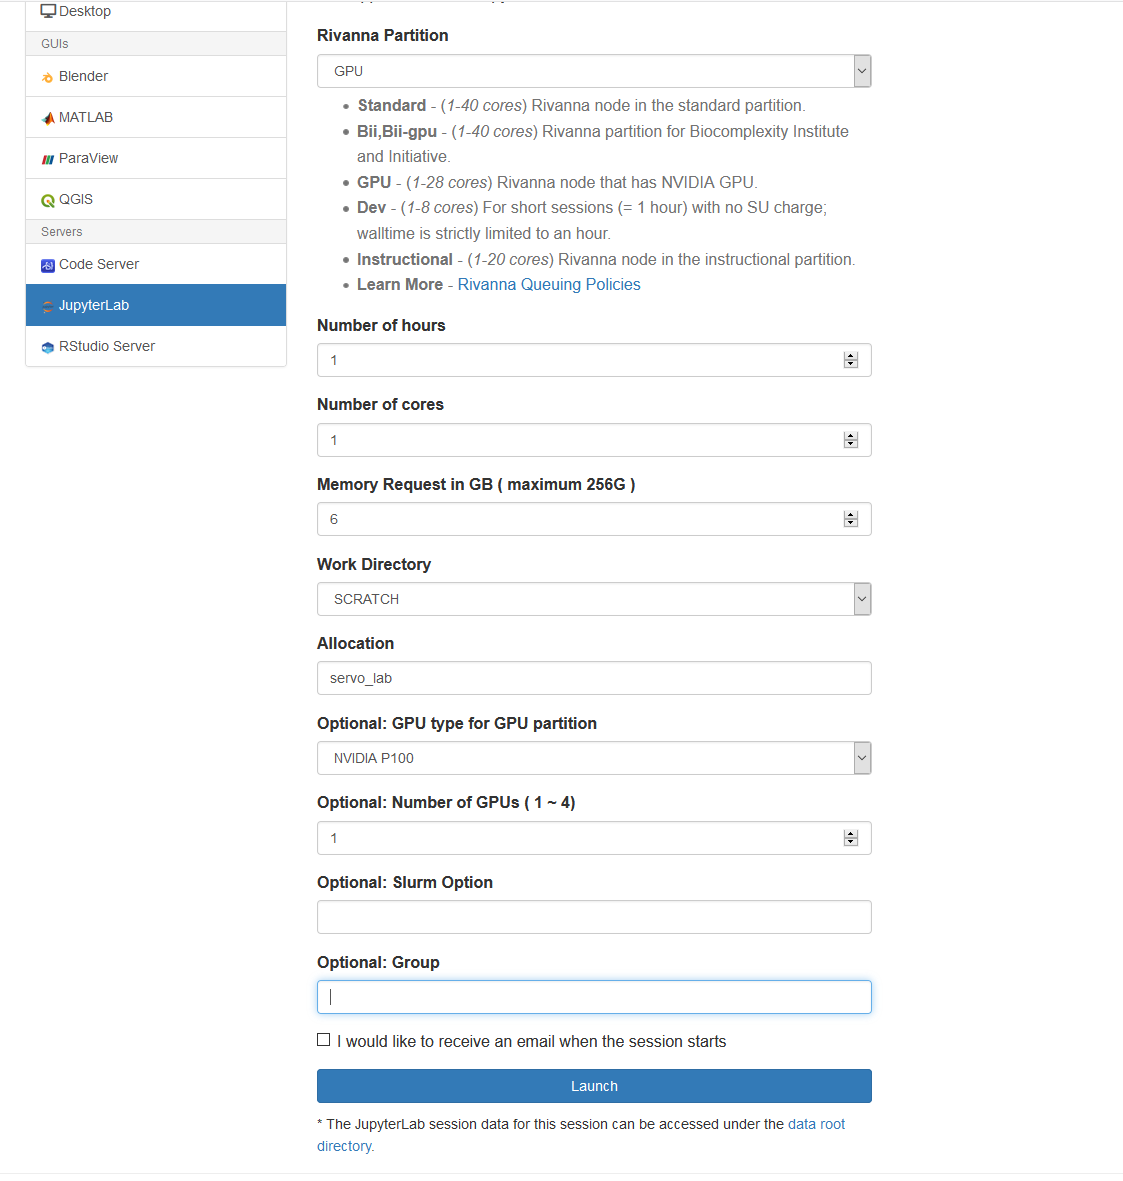
There are multiple ways to log in
<img src="OOD_Jupyterlab.png", style="height:30vh; background-color:white; float:right;"/>
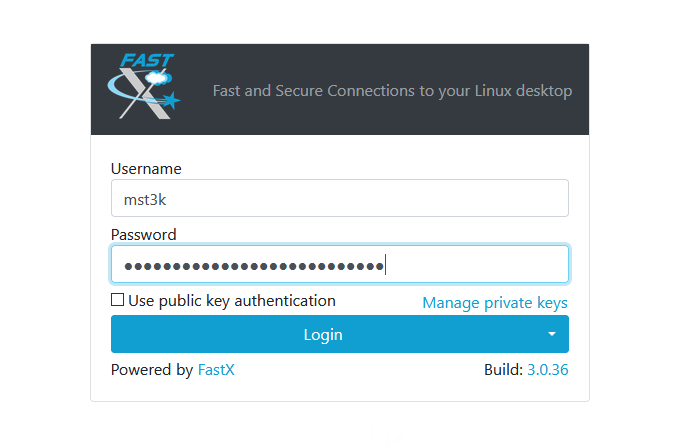
FastX is accessible either as an interactive application through Open OnDemand or directly at https://rivanna-desktop.hpc.virginia.edu
FastX requires your Eservices password. This is not necessarily the same as your Netbadge password.
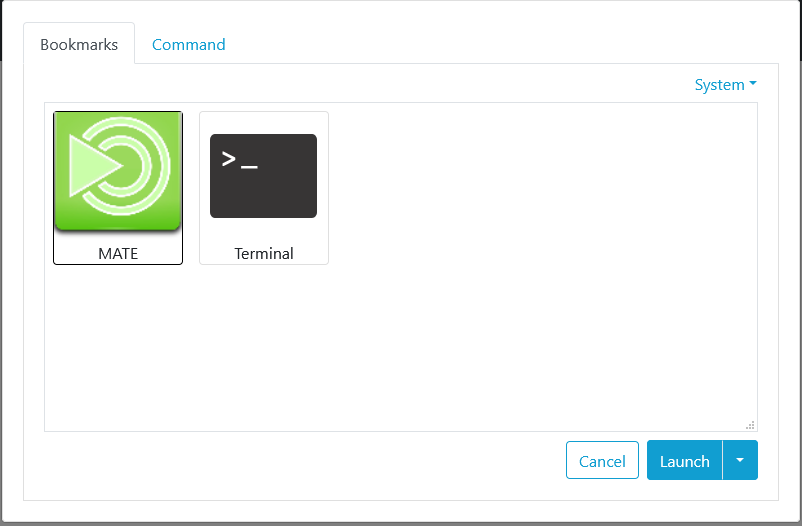
You may go to System->Log Out When you confirm logging out, this will terminate your session
You can also go to the FastX login page. Each session should appear as a terminal icon. Select the session and click the x in the upper-right corner.
Or go to the blue menu icon and select Terminate.
You will be in your home directory (folder).
The home folder on Rivanna has 50GB of storage capacity.
The home folder is for personal use and is not shareable with other users.
“Snapshots” of your files over the last seven days are available.
The frontend nodes are for short “housekeeping” tasks such as
You may run very short test runs with a limited number of cores and amount of memory. Your process will be terminated if it exceeds the time or memory limit.
You may not run multiple processes at once, nor may you run production jobs.
Storage Options
Command-Line and Modules
SLURM and Job Submissions
Each user will have access to 10 TB of temporary storage. It is located in a subfolder under /scratch, and named with your userID e.g., /scratch/mst3k
You are limited to 350,000 files in your scratch area.
Your /scratch folder is for personal use and is not shareable with other users.
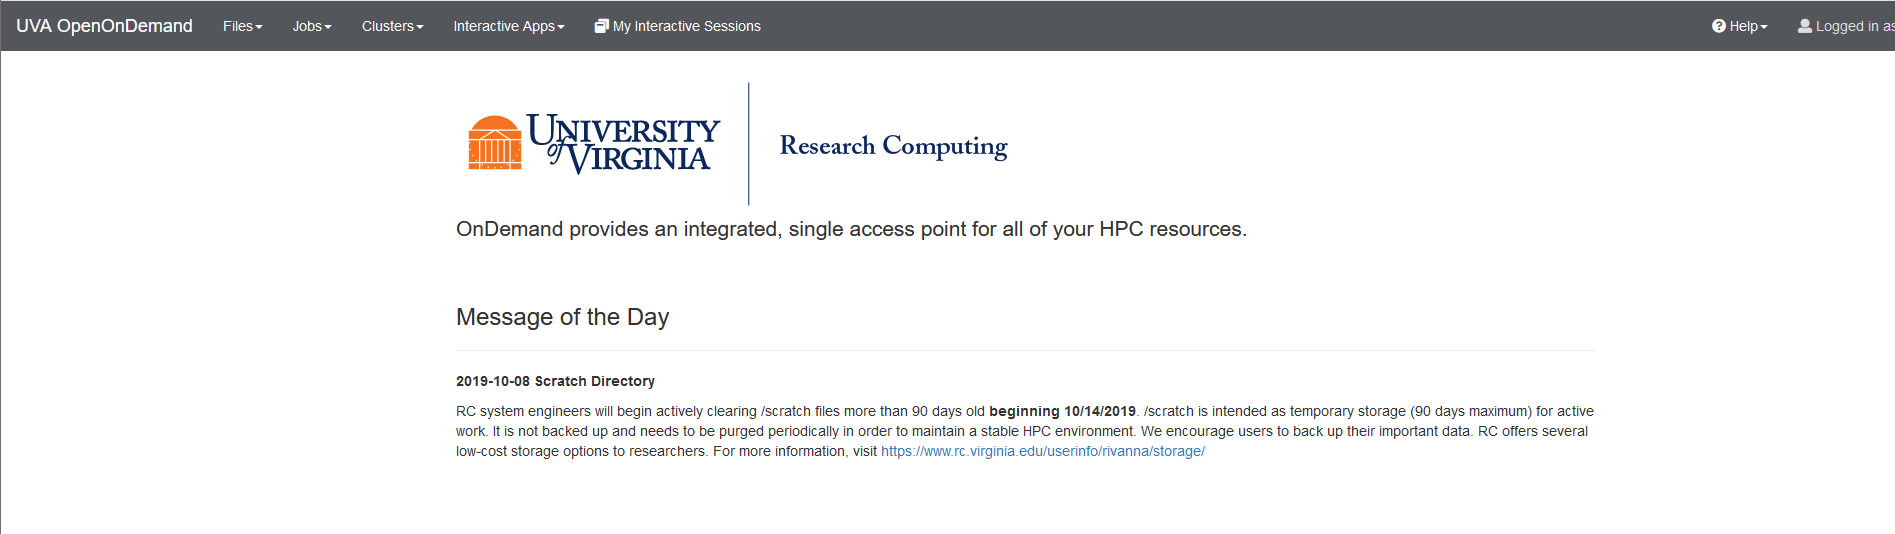
Important /scratch is NOT permanent storage and files that have not been accessed for more than 90 days will be marked for deletion.
Your files on scratch are NOT backed up. Deleted files are not recoverable.
We recommend that you run your jobs out of your /scratch folder for two reasons:
We also recommend that
You keep copies of your programs and data in more permanent locations (e.g., your home folder or leased storage).
After your jobs finish, copy the results to more permanent storage.
Two options are available for a monthly fee. Access is through groups that may but are not required to correspond to Rivanna allocation groups. All members of the group can access the storage, but not necessarily individual folders.
git clone command to copy git repositories.More details are available at our data-transfer page
To see how much disk space you have used in your home and scratch directories, open a Terminal window (see next few slides) and
type hdquota at the command-line prompt:
Type     Location      Name        Size Used Avail Use%
================================================================================
home      /home       mst3k         50G   45G  5.6G  89%
Project   /project    servo_lab    1.8P  1.7P  117T  94%
Value     /nv         vol67       1000G   84G  917G   9%

Location         Age_Limit(Days) Disk_Limit(GB) Use(GB)  File_Limit   Use
================================================================================
/scratch/mst3k       90              10240        147      350000      28387
Modules and SLURM require that you type a few commands from the command line.
Learning to use the command line and a text editor will make you a more productive user of Rivanna. Please see our Using Rivanna from the Command Line tutorial for an introduction.
In the examples below, the characters up to and included the $ are the prompt. Do not type them. The prompt may differ for different users. It indicates that the system is ready for input.
Edit button.To see how much disk space you have used in your home and scratch directories, open a Terminal window and
type hdquota at the command-line prompt:
Type     Location      Name        Size Used Avail Use%
================================================================================
home      /home       mst3k         50G   45G  5.6G  89%
Project   /project    servo_lab    1.8P  1.7P  117T  94%
Value     /nv         vol67       1000G   84G  917G   9%

Location         Age_Limit(Days) Disk_Limit(GB) Use(GB)  File_Limit   Use
================================================================================
/scratch/mst3k       90              10240        147      350000      28387
Modules set up your environment to make it easier for you to use software packages.
module load command.bash-4.2$module load matlab
bash-4.2$module load anaconda/5.2.0-py3.6
bash-4.2$module load goolf/7.1.0_3.1.4 R/3.6.3
module avail – Lists all available modules and versions.module spider – Shows all available modulesmodule key _keyword_ – Shows modules with the keyword in the descriptionmodule list – Lists modules loaded in your environment.module load mymod – Loads the default module to set up the environment for some software.module load mymod/N.M – Loads a specific version N.M of software mymod.module load _compiler_ _mpi_ _mymod_ – For compiler- and MPI- specific modules, loads the modules in the appropriate order and, optionally, the version.module purge – Clears all modules.To locate a python module, try the following:
bash-4.2$ module avail python
bash-4.2$ module spider python
bash-4.2$ module key python
To find bioinformatics software packages, try this:
bash-4.2$ module key bio
The available software is also listed on our website:
https://www.rc.virginia.edu/userinfo/rivanna/software/complete-list/
SLURM is a resource manager, also called a queueing system.
For details and sample scripts, please see our SLURM pages at http://www.rc.virginia.edu/userinfo/rivanna/slurm Much more information is available at http://slurm.schedmd.com/documentation.html
qlist at the command-line prompt. Not all users have access to all partitions.bash-4.2$ qlist
Queue Total Free Jobs Jobs Time SU
(partition) Cores Cores Running Pending Limit Charge
======================================================================
bii 4600 3254 59 647 7-00:00:00 1
standard 6004 2569 898 394 7-00:00:00 1
dev 216 188 5 1 1:00:00 0
parallel 5760 4328 23 0 3-00:00:00 1
instructional 560 460 1 0 3-00:00:00 1
largemem 80 16 17 96 4-00:00:00 1
gpu 472 262 38 35 3-00:00:00 3
bii-gpu 320 280 1 0 3-00:00:00 1
knl 2048 1280 0 0 3-00:00:00 1
pcore 144 44 2 0 infinite 1
| Name | Purpose | Job Time Limit | Memory/Node | Cores/Node | |
|---|---|---|---|---|---|
| standard | Single compute node | 7 days | 256 GB/ 384GB | 28/40 | |
| gpu | GPU jobs | 3 days | 256GB | 28 | |
| parallel | Multi-node parallel | 3 days | 384 GB | 40 | |
| largemem | Memory-intensive jobs | 4 days | 1 TB/1.5 TB | 16 | |
| dev | Short test jobs | 1 hour | 256 GB/ 128 GB | 28/20 |
bash-4.2$qlimits
Queue          Maximum      Maximum      Minimum      Maximum       Maximum       Default       Maximum      Minimum
(partition)    Submit       Cores/User   Cores/Job    Mem/Node(MB)  Mem/Core(MB)  Mem/Core(MB)  Nodes/Job    Nodes/Job
========================================================================================================================
bii            10000        400                       384000                      8500          112
standard       10000        1000                      112000+                     9000          1
dev            10000        16                        127000+       9000          9000          2
parallel       2000         900                       384000        9000          6000          45           2
instructional  50           8                         127000                      1000          5
largemem       10000        32                        1000000       64000         60000         2
gpu            10000        16                        188000+       32000         6000          4
bii-gpu        10000                                  384000                      8500          8
knl            2000         900          16           180000                      768           8
pcore          10000                                  550000                      2000          16
allocations at the command-line prompt (represented here by -bash-4.2$:
=======
To see how many SUs you have available for running jobs, type allocations at the command-line prompt (represented here by -bash-4.2$):bash-4.2$allocations
Allocations available to Misty S. Theatre (mst3k):
* robot_build: less than 6,917 service-units remaining.
* gizmonic-testing: less than 5,000 service-units remaining.
* crow-lab: less than 2,978 service-units remaining.
* gypsy: no service-units remaining
allocation_name, please run:bash-4.2$allocations -a allocation_name
A SLURM script is a bash shell script with SLURM directives (#SBATCH) and command-line instructions for running your program.
#!/bin/bash
#SBATCH --nodes=1                 #total number of nodes for the job
#SBATCH --ntasks=1                #how many copies of code to run
#SBATCH --time=1-12:00:00         #amount of time for the whole job
#SBATCH --partition=standard      #the queue/partition to run on
#SBATCH --account=myGroupName     #the account/allocation to use

module purge
module load goolf/7.1.0_3.1.4 R   #load modules that my job needs
Rscript myProg.R                  #command-line execution of my job
To submit the SLURM command file to the queue, use the sbatch command at the command line prompt.
For example, if the script on the previous slide is in a file named job_script.slurm, we can submit it as follows:
bash-4.2$ sbatch job_script.slurm
Submitted batch job 18316
The system responds with the job ID number.
To display the status of only your active jobs, type:
bash-4.2$squeue –u <your_user_id>
The squeue command will show pending jobs and running jobs, but not failed, canceled or completed jobs.
Typing squeue alone shows all jobs in all partitions.
Typing squeue -p
To display the status of all jobs, type:
bash-4.2$sacct –S <start_date>
The sacct command lists all jobs (pending, running, completed, canceled, failed, etc.) since the specified date.
bash-4.2$ sacct –S 2019-01-29

3104009      RAxML_NoC+   standard  hpc_build         20  COMPLETED      0:0
3104009.bat+      batch             hpc_build         20  COMPLETED      0:0
3104009.0    raxmlHPC-+             hpc_build         20  COMPLETED      0:0
3108537      sys/dashb+        gpu  hpc_build          1 CANCELLED+      0:0
3108537.bat+      batch             hpc_build          1  CANCELLED     0:15
3108562      sys/dashb+        gpu  hpc_build          1    TIMEOUT      0:0
3108562.bat+      batch             hpc_build          1  CANCELLED     0:15
3109392      sys/dashb+        gpu  hpc_build          1    TIMEOUT      0:0
3109392.bat+      batch             hpc_build          1  CANCELLED     0:15
3112064            srun        gpu  hpc_build          1     FAILED      1:0
3112064.0          bash             hpc_build          1     FAILED      1:0
To delete a job from the queue, use the scancel command with the job ID number at the command line prompt:
bash-4.2$ scancel 18316
To cancel all your jobs, type
bash-4.2$ scancel –u $USER
Research Computing Zoom Office Hours